If you wish to transfer or migrate your existing WordPress website to APC but is not using either cPanel or Plesk control panel at your current hosting provider, you may follow this guide.
This WordPress migration guide uses the WordPress plugin "UpdraftPlus" (using Backup & Restore method).
For any assistance required when following the guide, please contact UpdraftPlus for support directly.
For proper migration, you should purchase UpdraftPlus Premium, or the stand-alone “Migrator” add-on.
The following section of the guide is to be performed at your existing WordPress website.


If your domain name is not purchased from APC, Please check with your domain provider on how you can make the change.
Alternatively, if you face any difficulty, you should consider engaging a WordPress developer to perform the WordPress migration for you. If you do not have one, you may consider getting a freelancer from Fiverr.com to assist in your migration. Do note that APC takes no responsibility for any arrangement or contract you made with freelancers from the platform.
This WordPress migration guide uses the WordPress plugin "UpdraftPlus" (using Backup & Restore method).
For any assistance required when following the guide, please contact UpdraftPlus for support directly.
For proper migration, you should purchase UpdraftPlus Premium, or the stand-alone “Migrator” add-on.
The following section of the guide is to be performed at your existing WordPress website.
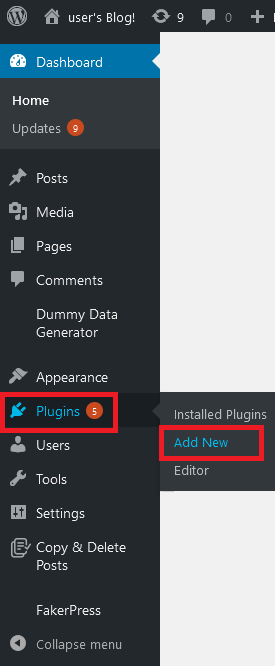
- Login to your current WordPress admin page.
- Click on “Plugins” > “Add New”.
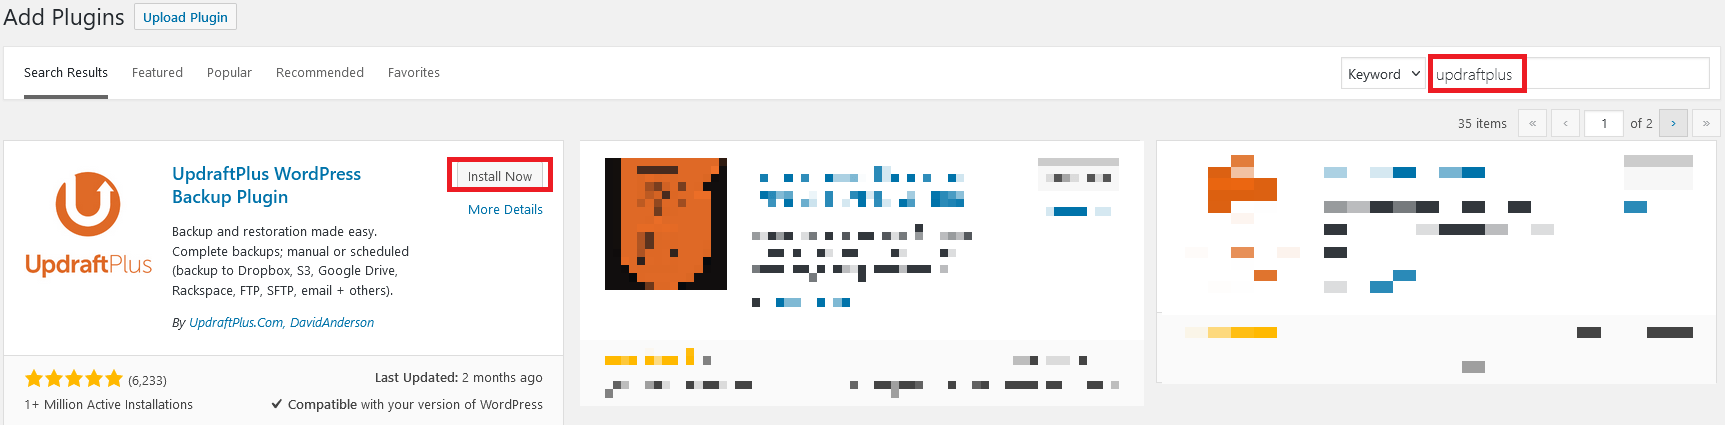
- Type "updraftplus" in the text field on the right side of the page.
- Click on "Install Now" for “UpdraftPlus WordPress Backup Plugin”.
- After it is installed, click on “Activate” and you will be brought to the “Plugin” page.
- Under "UpdraftPlus - Backup/Restore", click on "Settings".
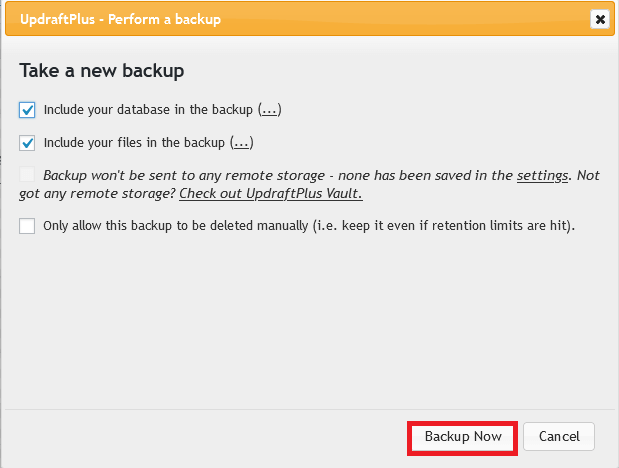
- Under “Next scheduled backups”, click on the “Backup Now” button and again “Backup Now” when prompted.
- Wait for the backup to finish.
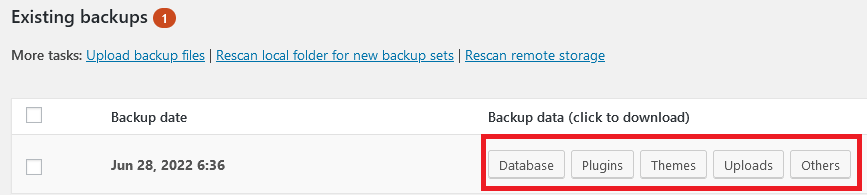
- When the backup is generated, under “Existing Backup” it will show you the button for "Database" "Plugins" "Themes" "Uploads" "Others".
- Click on each individual buttons to download the backup file to your computer.
- Visit https://www.apc.sg/linux-web-hosting to purchase the hosting package which suits your requirement.
- Once payment has been received, our system will send you the provisional email titled “cPanel Hosting Account Information”. If you don’t receive this email in your inbox, kindly check your junk/spam folder for it.
- Look under the section “Login Details” where it will provide you the credentials for your cPanel.
- Then under the section “cPanel Login URL” it will provide you the URLs of the server for your hosting service that you can use to login.
- Login to cPanel using the information from the “Login Details” section.
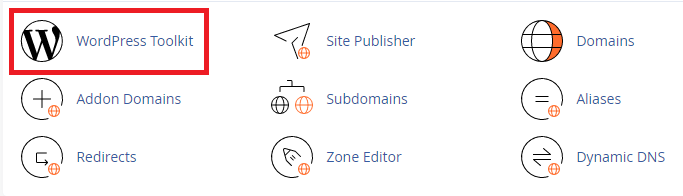
- Once you have login to the cPanel, look for “WordPress Toolkit”.
- Click on "Install WordPress".
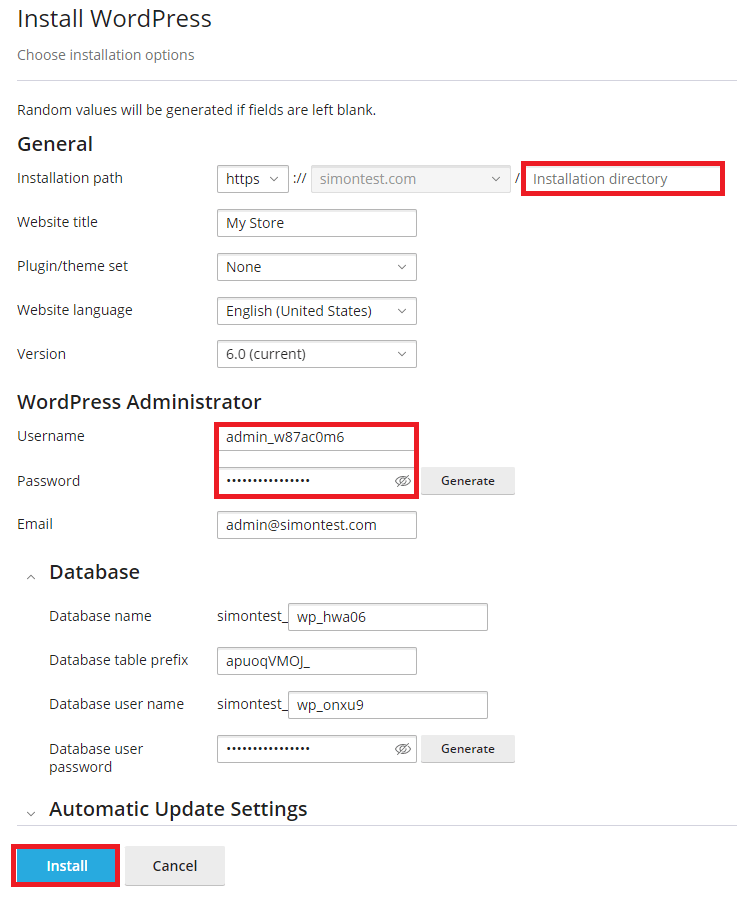
- For “Installation directory”, ensure there is nothing in the box so that the installer will install WordPress on the main domain name.
Note down the information shown for “Username” and “Password” under “WordPress Administrator”. Click on the eye icon to have the password shown to you.
- Click on “Install”.
- On the bottom right side of the screen, it shows you the status of the WordPress setup.
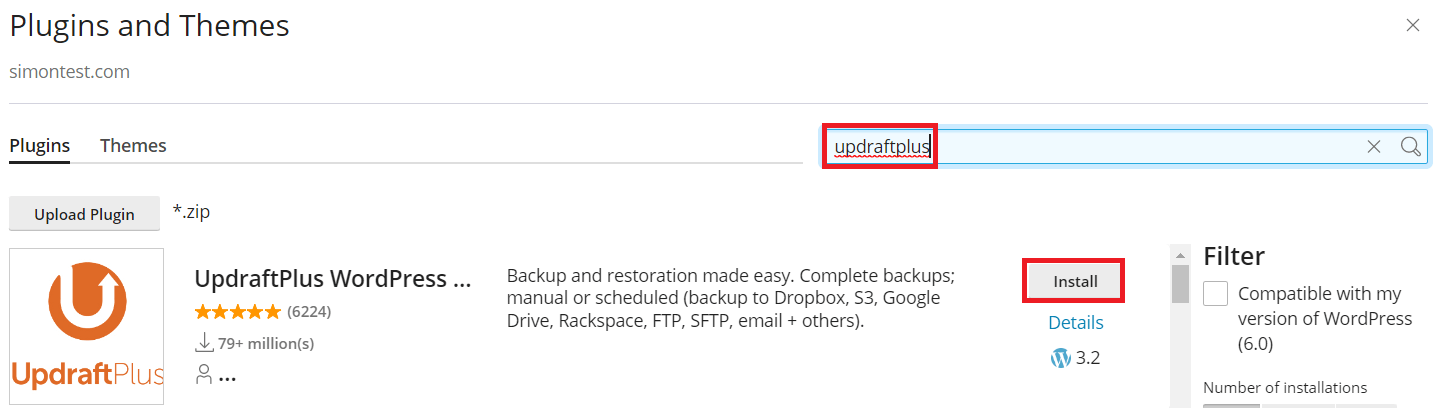
- Once the setup is complete, you will be notified. Then click on “Install Plugins”.
- Type "updraftplus" in the text field on the right side of the page. Click on "Install" for “UpdraftPlus WordPress Backup Plugin”.
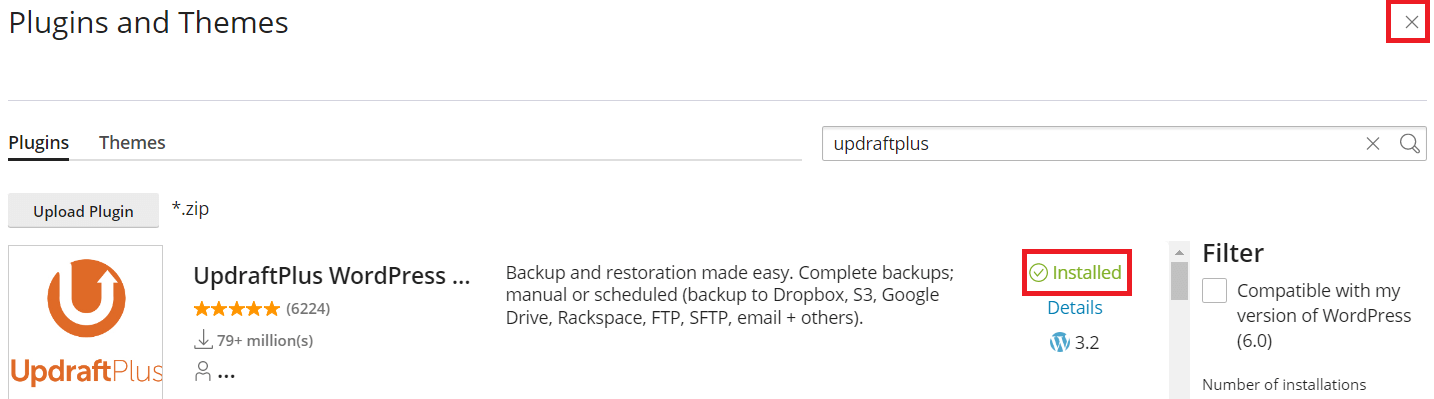
- Wait for the installation to complete. Once the installation is complete, click on the “X” button to close the window.
- Click on “Log In” to login to the WordPress in APC server.
- A new window will open and then bring you to the WordPress admin page. On the top of the page, click on “UpdraftPlus”, then “Backup/Restore”.
- If you are prompted to do your first backup, click on the close button.
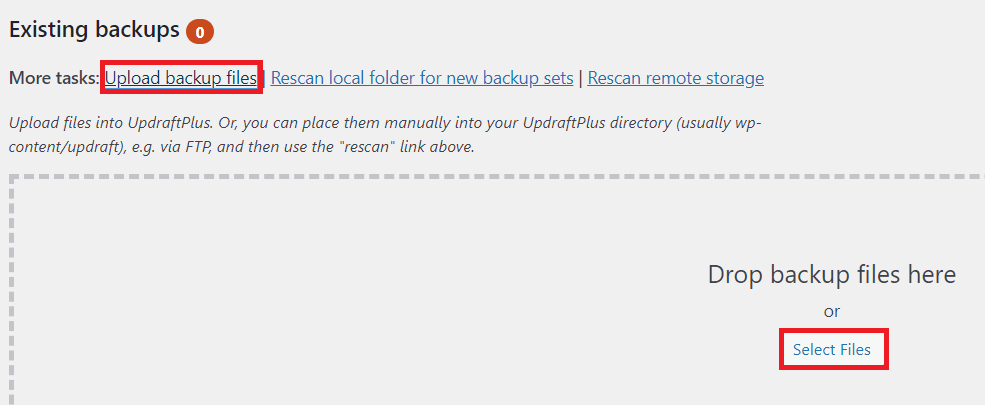
- Scroll down and under “Existing backups”, click on “Upload backup files” and “Select Files”.
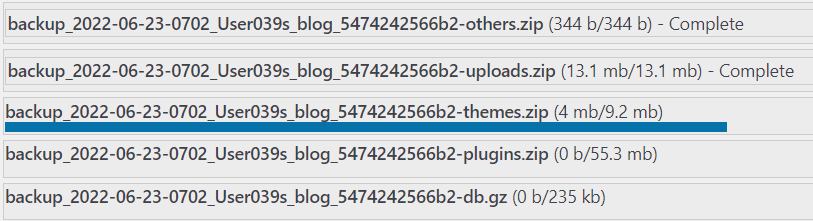
- Select the 5 backup files that you downloaded earlier from your existing WordPress to upload to the server.
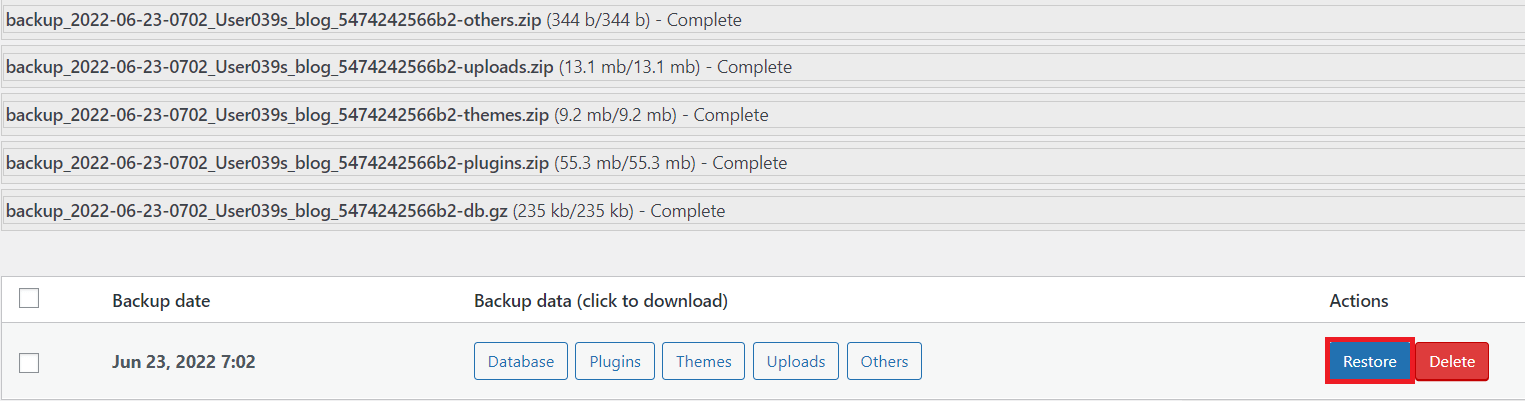
- Directly below the upload status, it will list the backup that are uploaded to the server. Once you see the button for "Database" "Plugins" "Themes" "Uploads" "Others" shows up, click on “Restore” next to it.
- You will be presented with the option of which component you wish to restore. Tick all the checkbox and click on “Next”.
- You will be presented with a warning page about the issue it detects. Review them and make any change if needed. Then click on “Restore”.
If during the restore process, a dialog box appear saying that “Your session has expired. Please log in to continue where you left off.”, click the “X” symbol on the right to close it. - Once the restore is completed, it show a green tick for the status “Finished”.
- Go back to your APC WordPress admin page.
If you encountered the message “Database Update Required”, click on “Update WordPress Database”. Once it is complete, click on “Continue”.
- You will be prompted to login to your WordPress. Once the restore is completed, please use the original credentials for your migrated WordPress website to login.
- Finally, please update your DNS nameservers for your domain name to point to APC's nameservers.
If your domain name is not purchased from APC, Please check with your domain provider on how you can make the change.
Alternatively, if you face any difficulty, you should consider engaging a WordPress developer to perform the WordPress migration for you. If you do not have one, you may consider getting a freelancer from Fiverr.com to assist in your migration. Do note that APC takes no responsibility for any arrangement or contract you made with freelancers from the platform.